
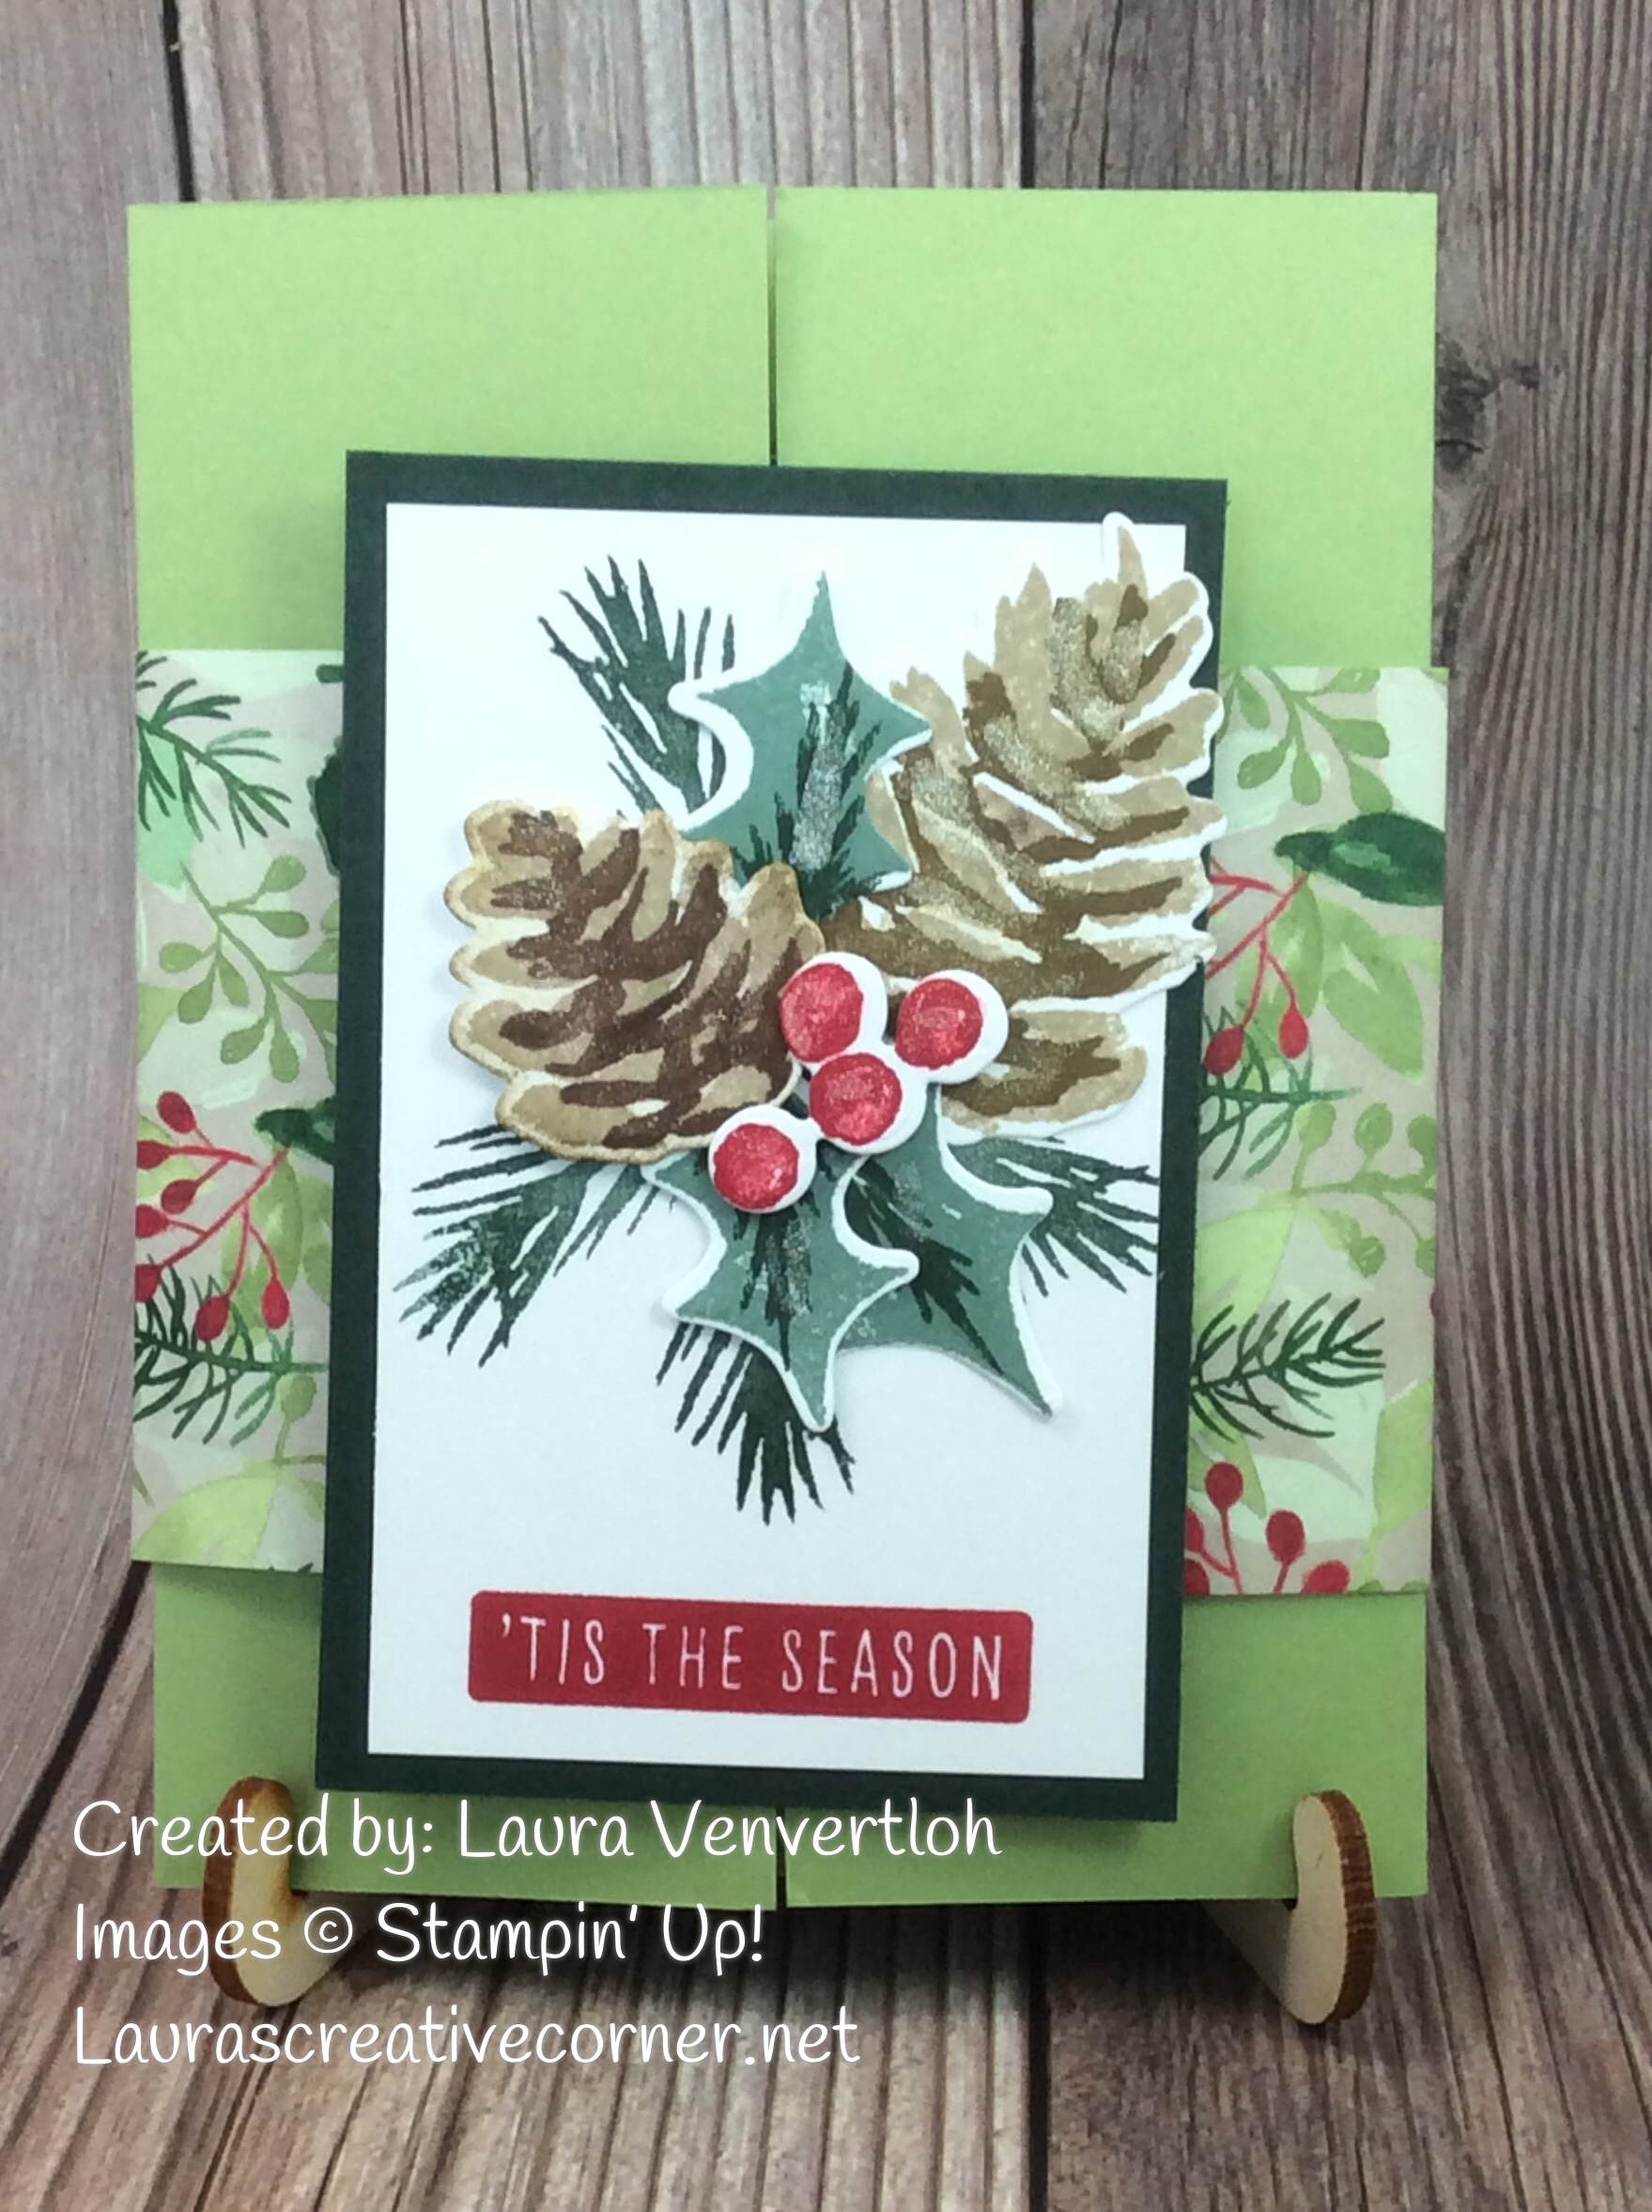
I stumbled across this Explosion Card Fun Fold and I had to make one for my Fun Fold class!! It looks daunting at first glance-but I promise it’s super easy to make!
Supplies:
Card Base: 5 ½” x 8 ½”-Scored at 2 1/8” and folded to meet in the middle.
DSP: 4” x 8”- Scored at 2”, 4”, 6” & diagonally from every corner to opposite corner’s 4” score line. (see diagram)
Basic White: 2 ½” square & 2 ½” x 4” piece
Color Layer: 2 ¾” square & 2 ¾” x 4 ¼” piece
Belly Band: 3”x 9 ½”
Other Supplies: Ribbons, embellishments, adhesive, bone folder, and Paper Trimmer with scoring tool.

Huge thank you to Julie Davidson for this template!!
- Fold the card base in to meet in the middle and crease with your bone folder.
- 4” x 8”- Scored at 2”, 4”, 6” & diagonally from every corner to opposite corner’s 4” score line. Crease the vertical lines first and carefully crease the diagonal ones inward.
- Adhere your Color square and Basic White square together and then place in the center diamond above. This will hold the inside sentiment.
- Stamp and decorate your Basic White 2 ½” x 4” piece and adhere to the 2 ¾” x 4 ¼” piece.
- Use your DSP Belly Band 3”x 9 ½” and bend it securely (not to tight) around the closed card base. Then use Tear & Tape to join together.
- Adhere your decorated piece from step 4 to cover the join line on the belly band.
- Fold your inside diagonal piece into a square-rotate to make a diamond before adhering it to one side of the card base. (use Tear & Tape). Then slowly press the opposite side onto the other side of the diamond.
- Open your card to see the explosion!!!

Check out the products I used to make this unique card! While you are browsing the online catalog check out the Clearance Rack! Just refreshed today!

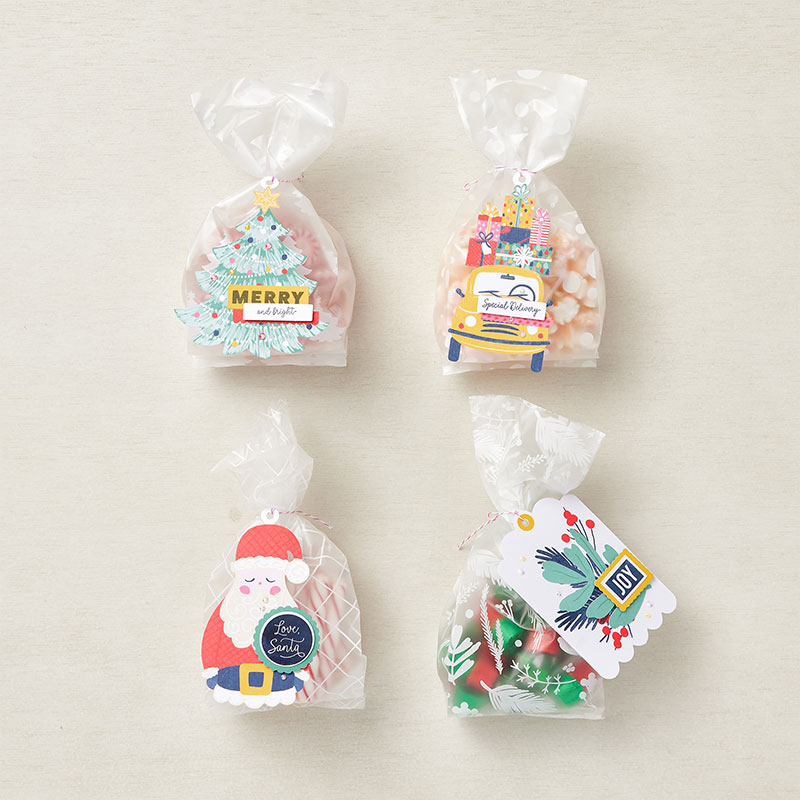
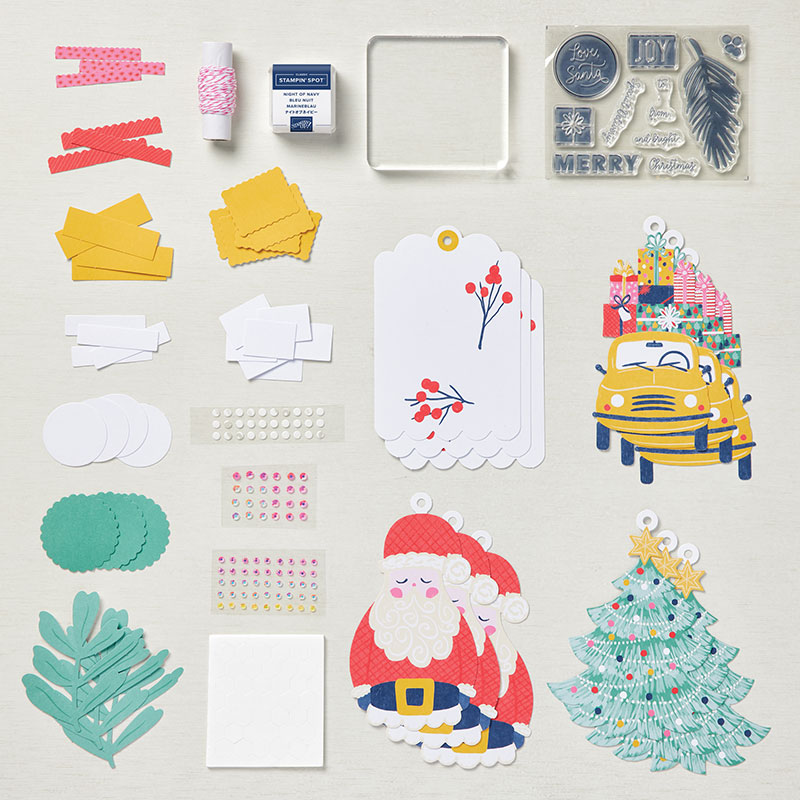
I just snagged a couple of these ADOREABLE Santa’s Tag Kits! You can also add the Cello Bags or buy the Project Kit! Great family craft too!


")
 Designer Series Paper")


