
Sometimes the sweetest cards are also the simplest — and this one comes together faster than your coffee cools. ☕💌
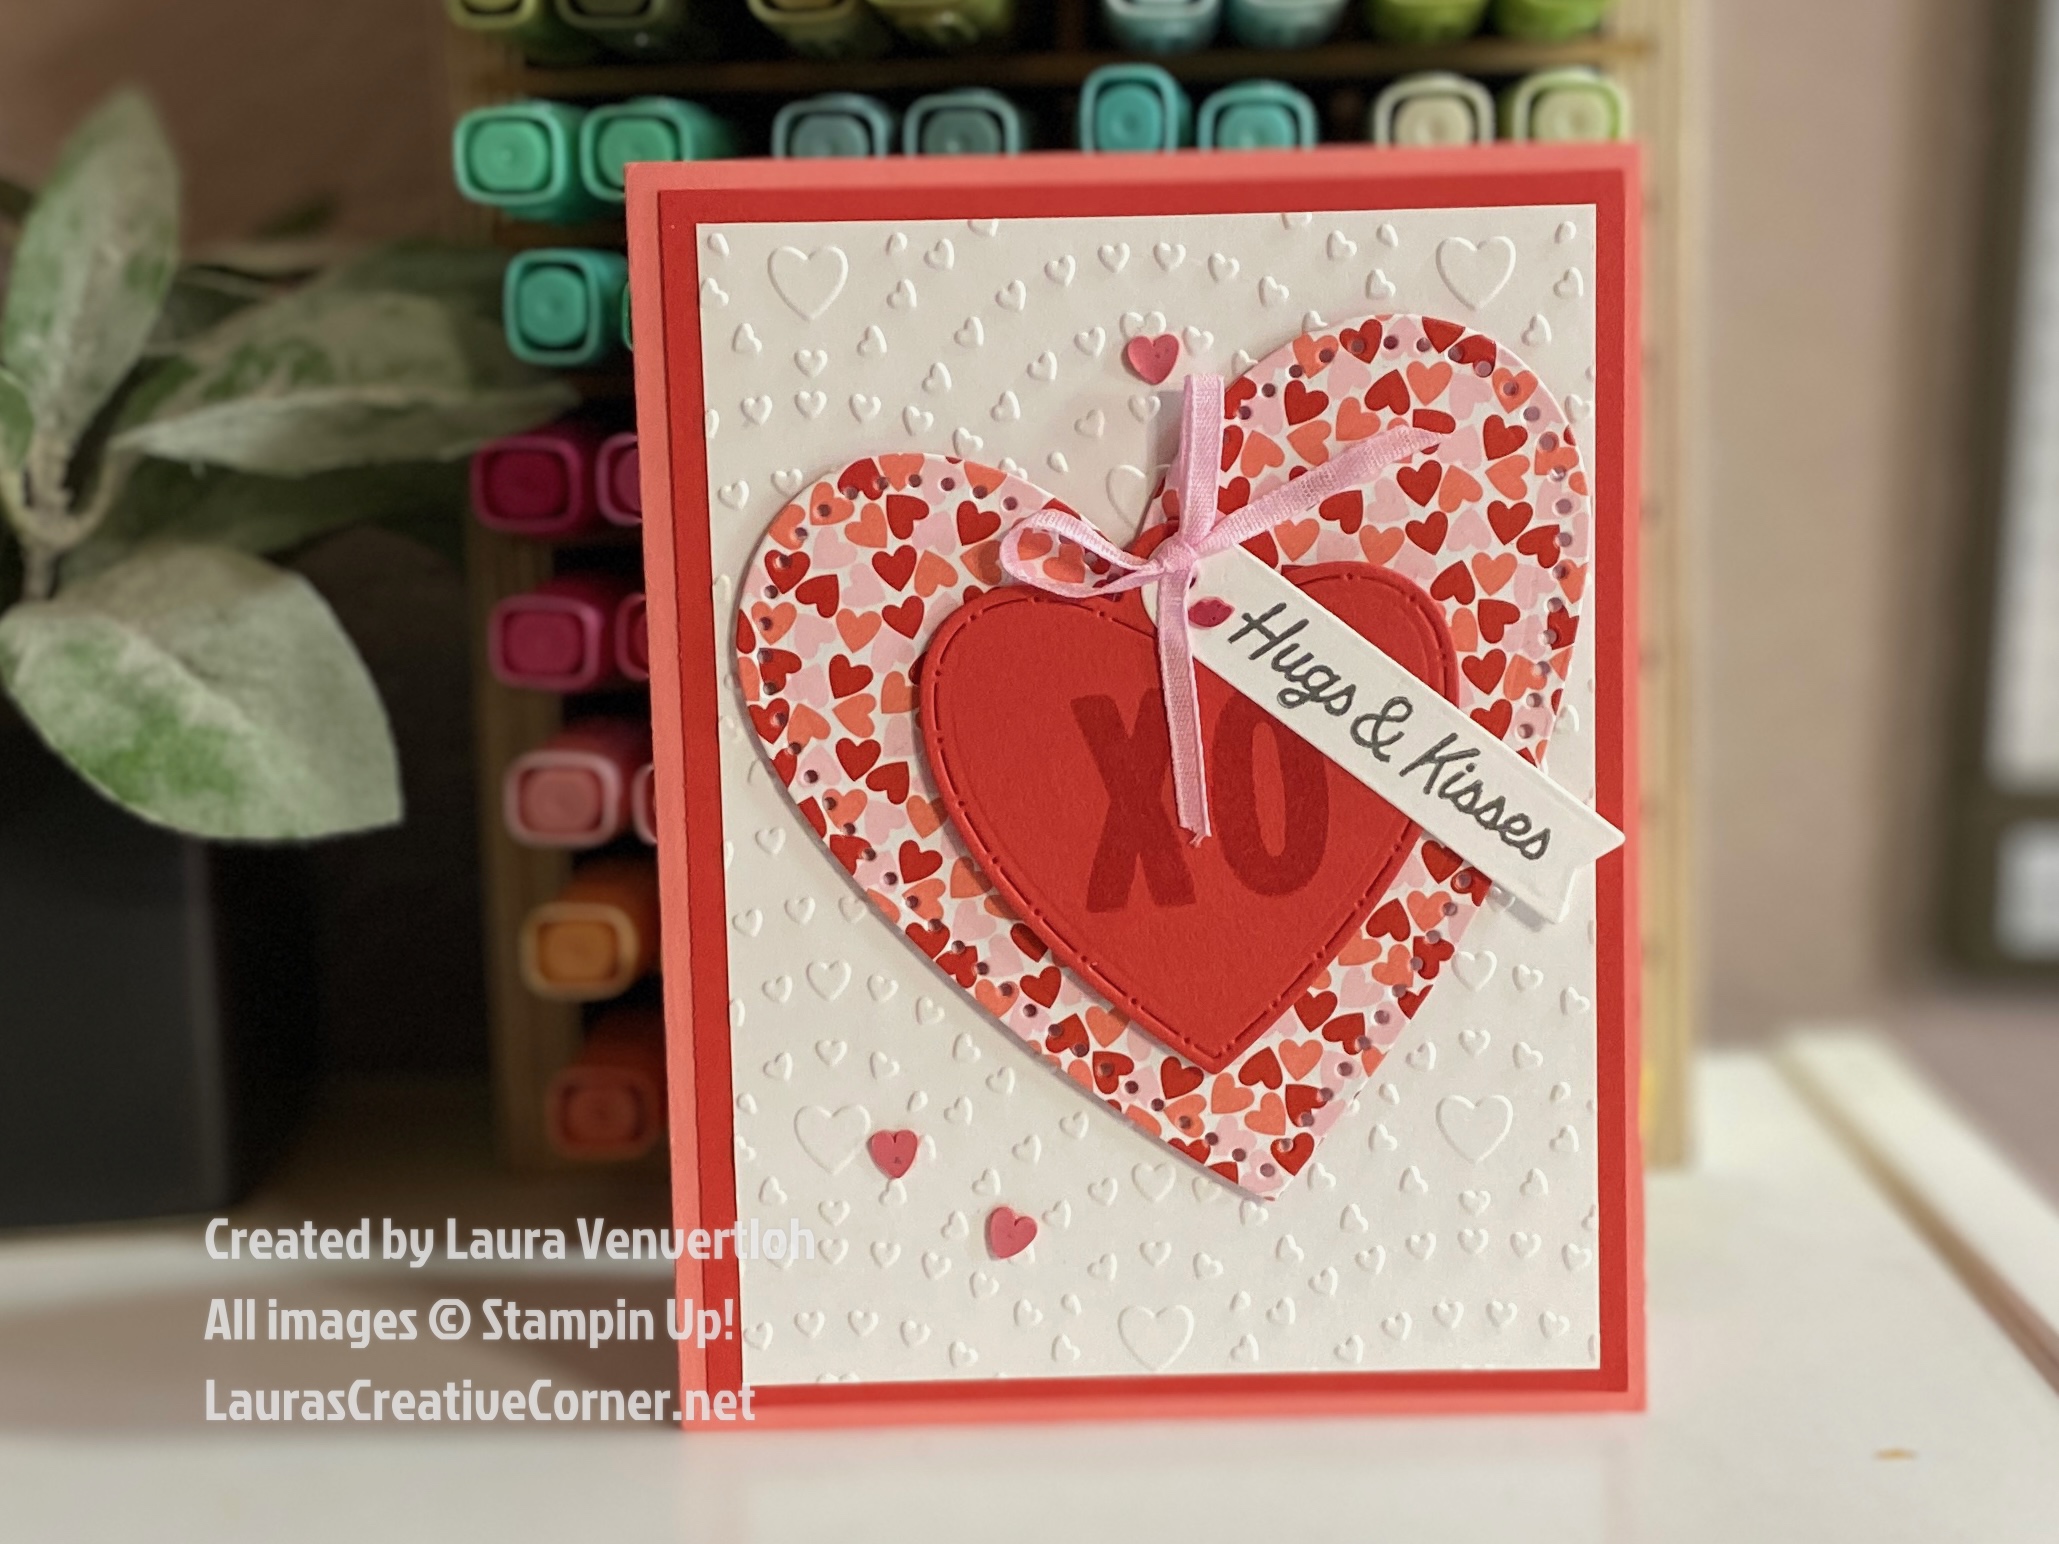
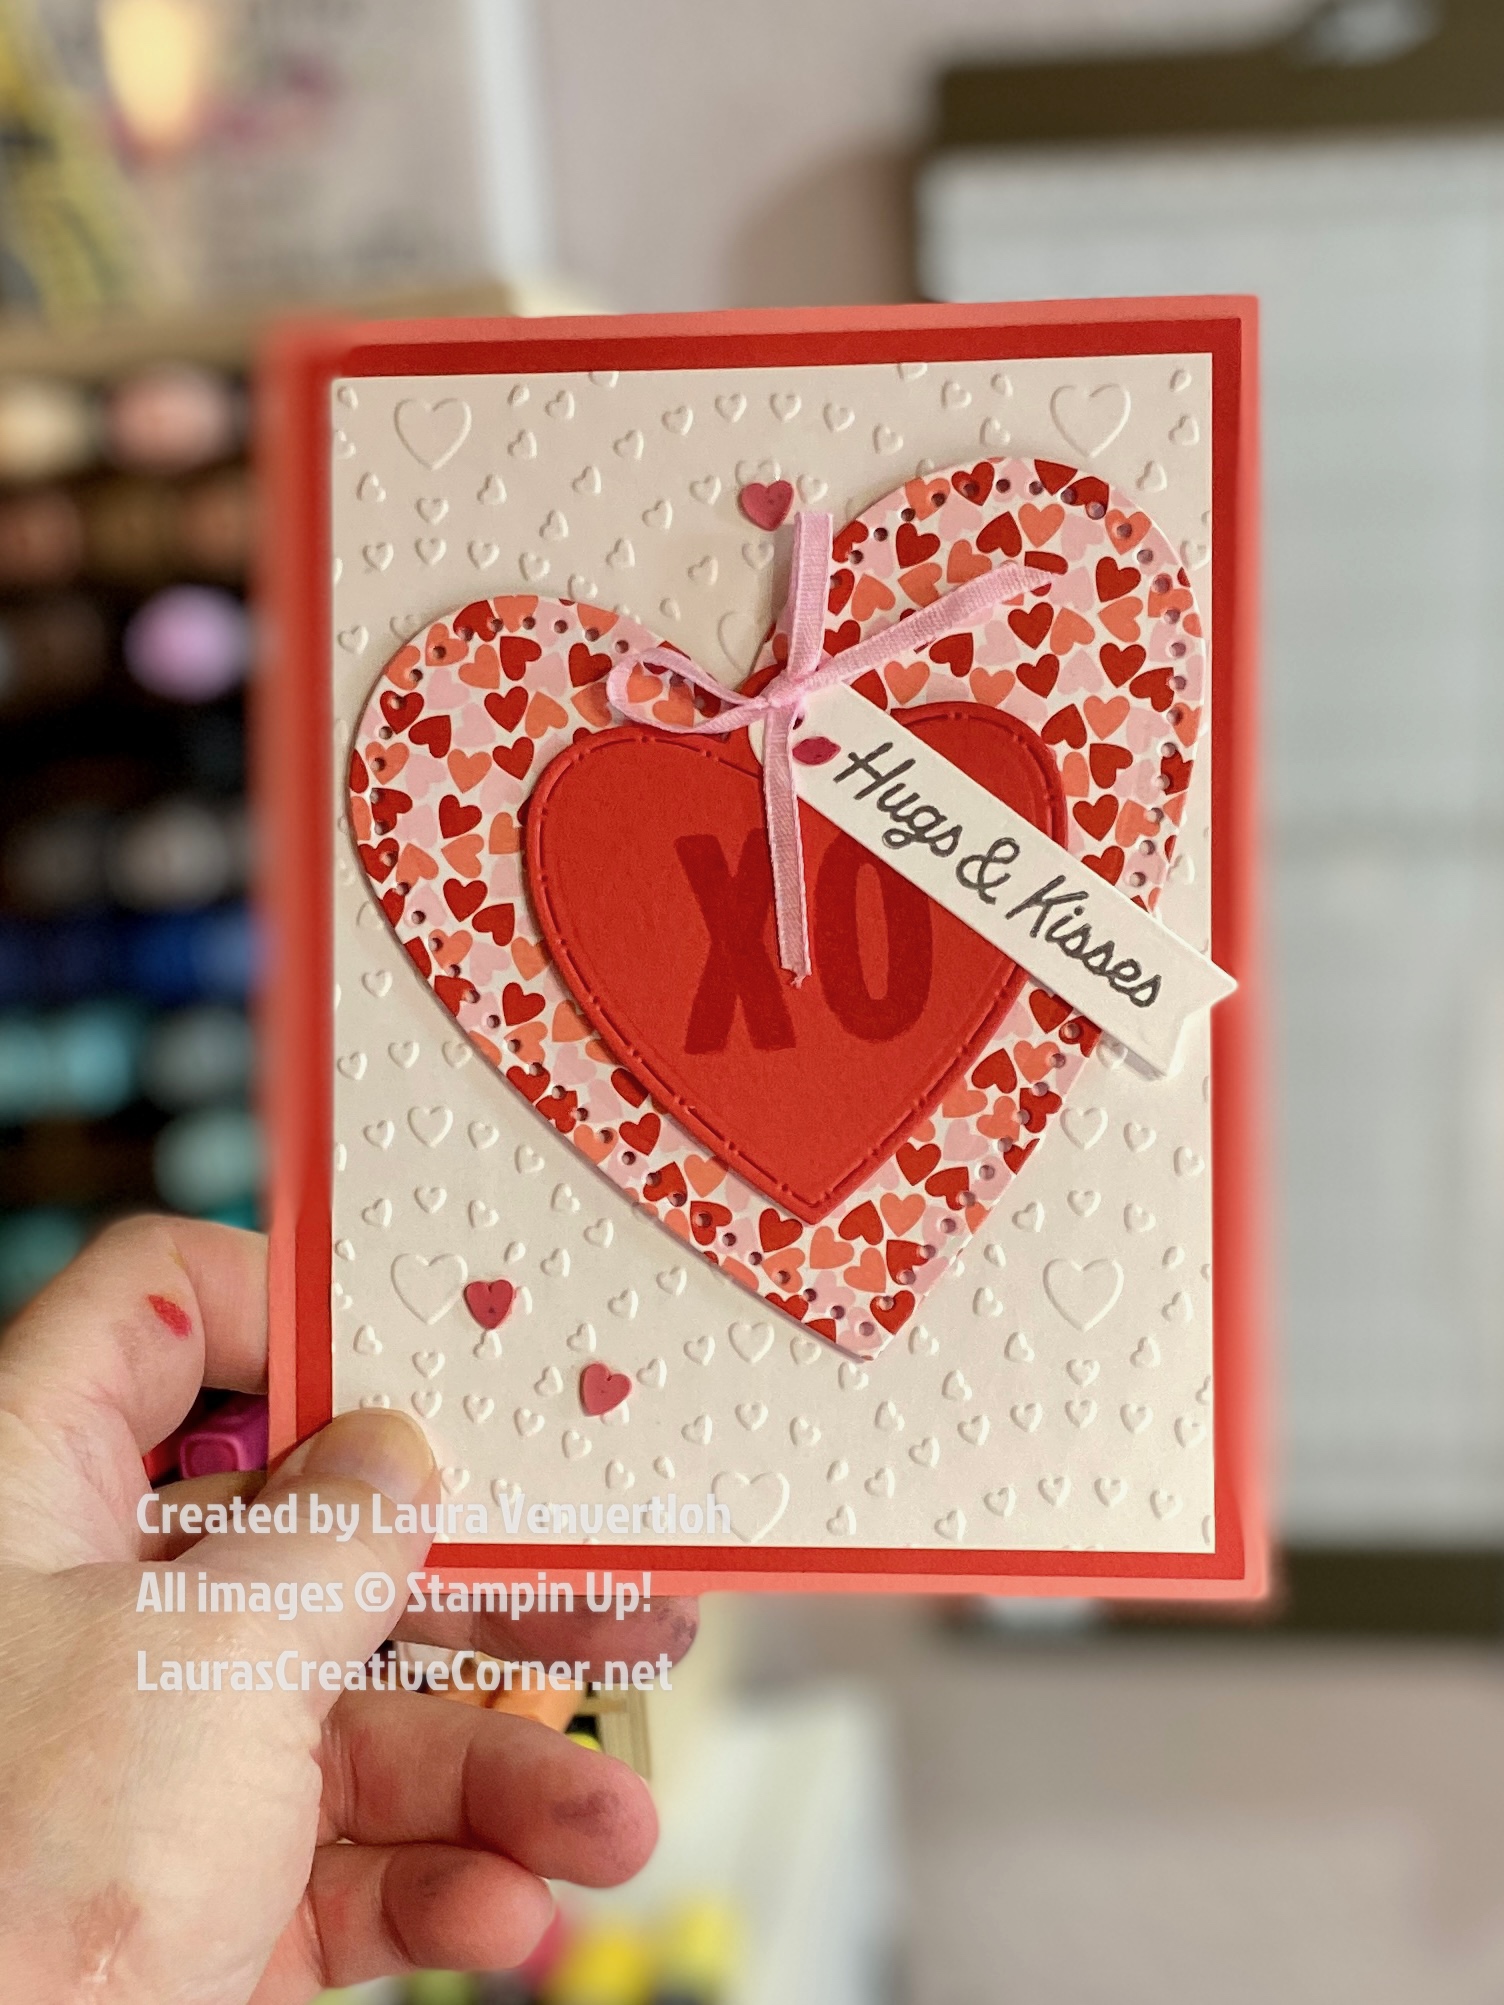
Using the Endless Love Stamp Bundle and the gorgeous Made with Love Suite, I created a soft, layered card that looks detailed but is wonderfully easy to recreate. A little texture, a little sparkle, and a few perfectly placed hearts make this design feel thoughtful without overthinking it.
The embossed background gives softness, the bold Poppy Parade mat adds contrast, and the patterned heart brings just the right amount of sweetness. It’s a perfect “thinking of you,” Valentine, or just-because card.
Want to see this come together in real time? Watch my quick video where I assemble the entire card in under two minutes — easy, satisfying, and totally doable for any crafter.
If you recreate this card, I’d love to see it! Tag me or leave a comment — your creativity always makes my day brighter. 💗
Supplies I used:
- Card Base: Flirty Flamingo — 8 1/2″ x 5 1/2″
- Mat Layer: Poppy Parade — 5 1/4″ x 4″
- Paper-saving tip: cut your small heart from this piece before adhering it!
- Basic White Layer: 5″ x 3 3/4″
- Made with Love Designer Series Paper
- Hearts of Love Embossing Folder
- Loose Valentine’s Assortment
- Bubble Bath 1/8″ Ribbon
- Basic Gray Ink
- Poppy Parade Ink
- Coordinating label die + heart die
- Tombow Liquid Glue
Let’s put it together:
- Create your layers.
Attach your Poppy Parade mat to the Flirty Flamingo card base. - Add texture.
Run your Basic White layer through the Hearts of Love Embossing Folder to create soft, romantic dimension. Adhere this to the Poppy Parade card mat. - Die-cut your hearts.
- Cut the larger heart from a 4 1/2″ square of Made with Love DSP.
- Cut the smaller heart from your Poppy Parade mat (sneaky paper saver!).
- Stamp & shape your sentiment.
Stamp your greeting in Basic Gray ink and cut it out using the coordinating label die. - Embellish with shine.
Add a few pieces from the Loose Valentine’s Assortment using Tombow Liquid Glue — a little goes a long way! - Tiny but mighty detail:
Stamp “XO” on the small heart using Poppy Parade ink before popping it onto your card. - Finish with a bow.
Tie a sweet bow with Bubble Bath 1/8″ ribbon and attach it for that final charming touch.
If you’ve ever thought, “Hmm… maybe I’d like that Stampin’ Up! discount,” now is a perfect time to take the leap. You don’t have to teach, host, or sell — many people join simply to enjoy the perks, play with new goodies early, and be part of a creative community that feels like a warm cup of coffee and a craft table full of possibilities. ☕🎨
✨ When you join, you get:
• 20–25% off everything you order
• Early access to new products & catalogs
• Fun events, training, and inspiration
• A welcoming crafting community
• And the option to earn a little extra income if you want
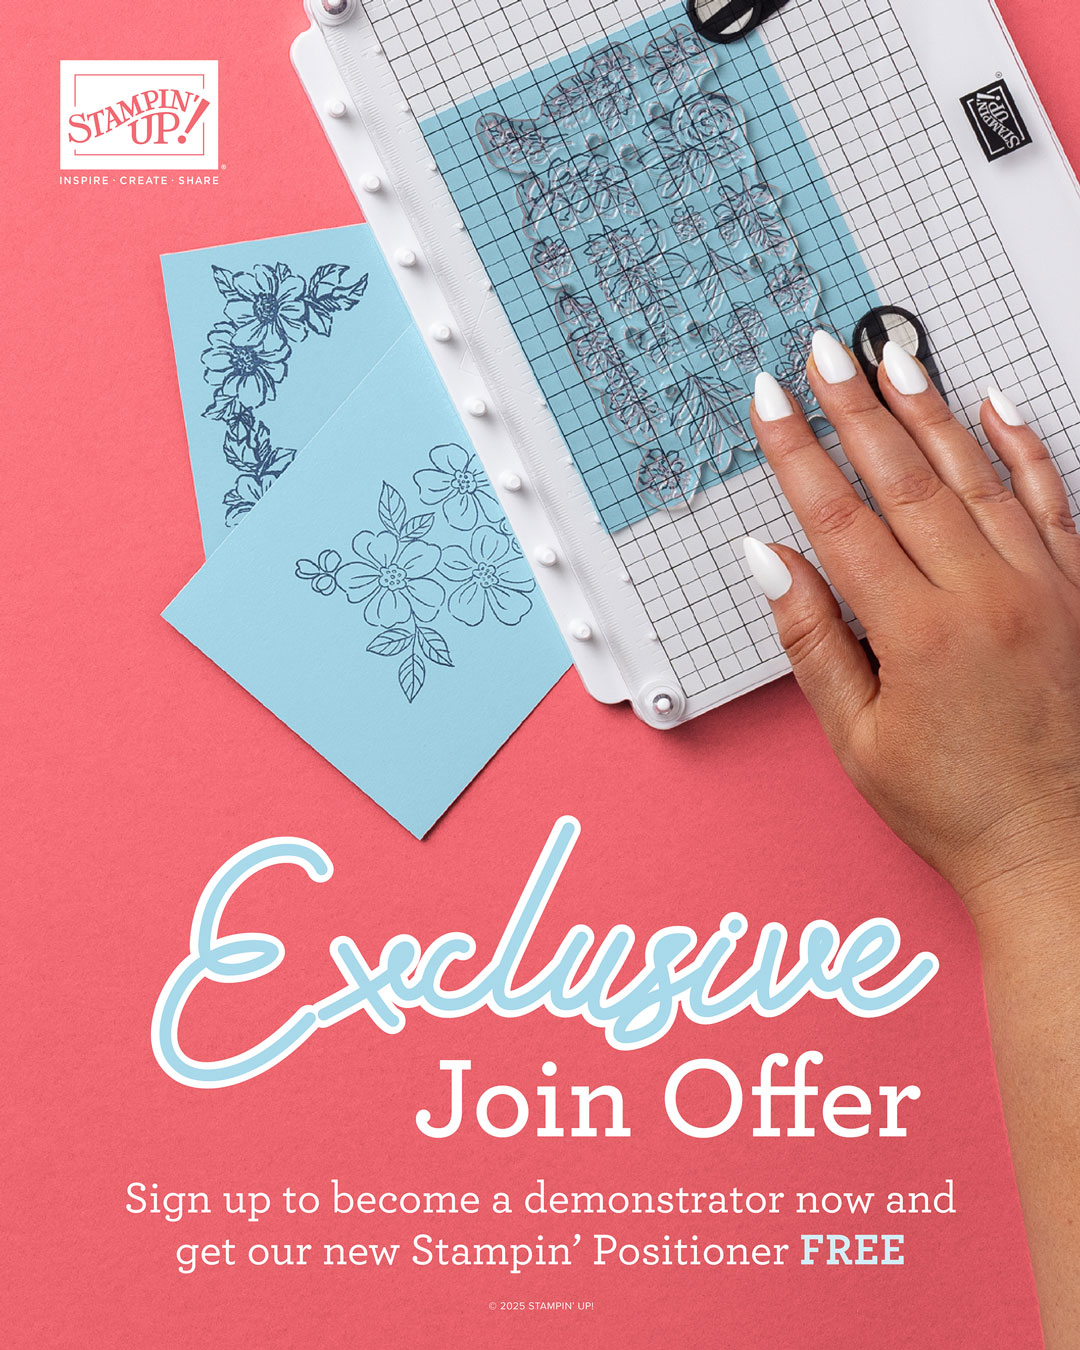
🎁 February Bonus You’ll LOVE:
New demonstrators receive the brand-new Stampin’ Positioner ($49 value) + $15 grid paper — FREE with their Starter Kit!
All this for just $99 + tax — and NO shipping! You still get to choose $125 in products for your kit. That’s a lot of creative magic for a tiny investment. ✨
Join now through March 2, 2026 by clicking the button below!

![Endless Love Bundle (English) [ 167062 ]](https://assets1.tamsnetwork.com/images/EC042017NF/167062s.jpg "Endless Love Bundle (English) [ 167062 ]")
![Made With Love Suite Collection (English) [ 167079 ]](https://assets1.tamsnetwork.com/images/EC042017NF/167079s.jpg "Made With Love Suite Collection (English) [ 167079 ]")
![Made With Love 12" X 12" (30.5 X 30.5 Cm) Designer Series Paper [ 167054 ]](https://assets1.tamsnetwork.com/images/EC042017NF/167054s.jpg "Made With Love 12\" X 12\" (30.5 X 30.5 Cm) Designer Series Paper [ 167054 ]")
![Hearts Of Love 3 D Embossing Folder [ 167071 ]](https://assets1.tamsnetwork.com/images/EC042017NF/167071s.jpg "Hearts Of Love 3 D Embossing Folder [ 167071 ]")
![Bubble Bath 1/8" (3.2 Mm) Faux Linen Ribbon [ 167075 ]](https://assets1.tamsnetwork.com/images/EC042017NF/167075s.jpg "Bubble Bath 1/8\" (3.2 Mm) Faux Linen Ribbon [ 167075 ]")
![Loose Valentine's Assortment [ 167074 ]](https://assets1.tamsnetwork.com/images/EC042017NF/167074s.jpg "Loose Valentine's Assortment [ 167074 ]")
![Take Your Pick [ 144107 ]](https://assets1.tamsnetwork.com/images/EC042017NF/144107s.jpg "Take Your Pick [ 144107 ]")
![Multipurpose Liquid Glue [ 110755 ]](https://assets1.tamsnetwork.com/images/EC042017NF/110755s.jpg "Multipurpose Liquid Glue [ 110755 ]")
![Poppy Parade 8-1/2" X 11" Cardstock [ 119793 ]](https://assets1.tamsnetwork.com/images/EC042017NF/119793s.jpg "Poppy Parade 8-1/2\" X 11\" Cardstock [ 119793 ]")
![Flirty Flamingo 8-1/2" X 11" Cardstock [ 141416 ]](https://assets1.tamsnetwork.com/images/EC042017NF/141416s.jpg "Flirty Flamingo 8-1/2\" X 11\" Cardstock [ 141416 ]")
![Basic White 8 1/2" X 11" Cardstock [ 166780 ]](https://assets1.tamsnetwork.com/images/EC042017NF/166780s.jpg "Basic White 8 1/2\" X 11\" Cardstock [ 166780 ]")
![Basic Gray Classic Stampin' Pad [ 149165 ]](https://assets1.tamsnetwork.com/images/EC042017NF/149165s.jpg "Basic Gray Classic Stampin' Pad [ 149165 ]")
![Poppy Parade Classic Stampin' Pad [ 147050 ]](https://assets1.tamsnetwork.com/images/EC042017NF/147050s.jpg "Poppy Parade Classic Stampin' Pad [ 147050 ]")
