

The Cherish the Season Bundle was one of the first items on my wish list when the Holiday Catalog came out! I was drawn to the different sized bells that you can cut out with the Sounds of the Season dies and stamped images!
I had the first Stamp a Stack of cards at my house last weekend! I kept it safe and had 3 classes in a two day span. Same cards for all three classes-just limited it to 4 per class and I had 3 tables out! Plus, I saw a great idea from one of my favorite fellow demonstrators/blogger, Lyssa Zwolanek! She posted about making dividers on her site by using poster frames and handmade stands! Genius and inexpensive!

This card has a few steps to make the finished product with ease! It’s very important to keep that in mind when you prepare for a Stamp a Stack of cards! Each person gets 12 cards total to make (3 designs, 4 of each). Stay tuned for the card that they loved, but took a little too long for this class! Ha ha!
Use Real Red as your card base and cut it to a tent sized A2 card. (11″ x 4 1/4″) I usually score this cut for my girls-it just makes a better crease to pre-score. I highly recommend getting a Simply Scored Scoring Tool for your craft room! You can create boxes, fun folds, accordion round décor items, and much more!
Next, I ran the Real Red through the Stamp, Cut, and Embossing machine using the Subtle Embossing 3D Folder on the front side. Then you can take a piece of the ‘Tis the Season 6×6 DSP paper and cut it to 2″ x 5 1/2″. After adhering the DSP down, you can cut out a scalloped stitched rectangle from the Stitched So Sweetly Dies. I used the 2nd to the largest sized one.

I then used Shaded Spruce to stamp the pine branches towards the top of the rectangle being sure to over lap in the middle. Next, stamp the sentiment on the bottom of the same piece. Now you are ready to cut out your bell! This was the fun part! When I ran the biggest single bell die through the machine, the holly leaves stayed in tact! I saw other people use blends to color them in for that extra touch! (if they pop out, you can run some Stampin’ Seal on the back and put them back in place) I used dimensionals to pop it up close to the over lapped branches. The Real Red ribbon from the All the Trimmings Ribbon Combo pack was the perfect finishing touch! I was sure to cover up the over lap of the branches with the bell and the bow.
To finish the card, I popped up the Whisper White rectangle, now adorned, to the card base using Dimensionals.
Be sure to stock up and save on your DSP this month! Check out the flyer below for select patterns at 15% off!


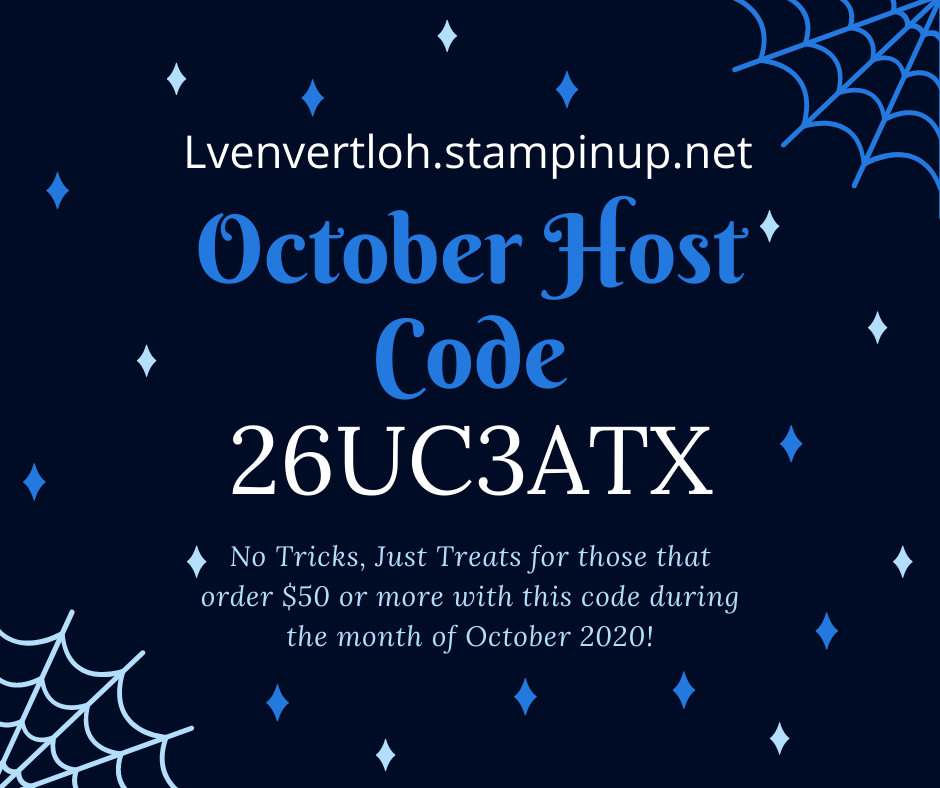
Be sure to use October’s Host code! I will mail you a thank you gift for ordering $50 or more and for choosing me as your demonstrator! (Make your own order for totals more than $149 so you can reap the host rewards)
Many Blessings,
Laura
Product List  $35.00 |  $18.00 |  $21.00 |  $32.00 |  Designer Series Paper") $11.50 |
 $8.00 |  $10.00 |  $8.75 |  $9.75 |  $5.00 |
 $7.50 |  $9.00 |  $9.00 |  $30.00 |  $5.25 |
 $8.00 |  $4.00 |
